Why You’ll Love This Recipe
Soft Christmas peppermints are the perfect homemade holiday candy — creamy, minty, and delicately sweet with that irresistible melt-in-your-mouth texture. These little confections are not only easy to make but also incredibly festive, thanks to their pretty pastel colors and delicate peppermint flavor. I made these one December afternoon with my nieces, and we ended up making multiple batches to give as gifts — they’re that delightful! You’ll love how they look on dessert trays, tucked into cookie boxes, or simply enjoyed with a cup of cocoa. No candy thermometer, no fuss — just a handful of simple ingredients and a touch of Christmas spirit.

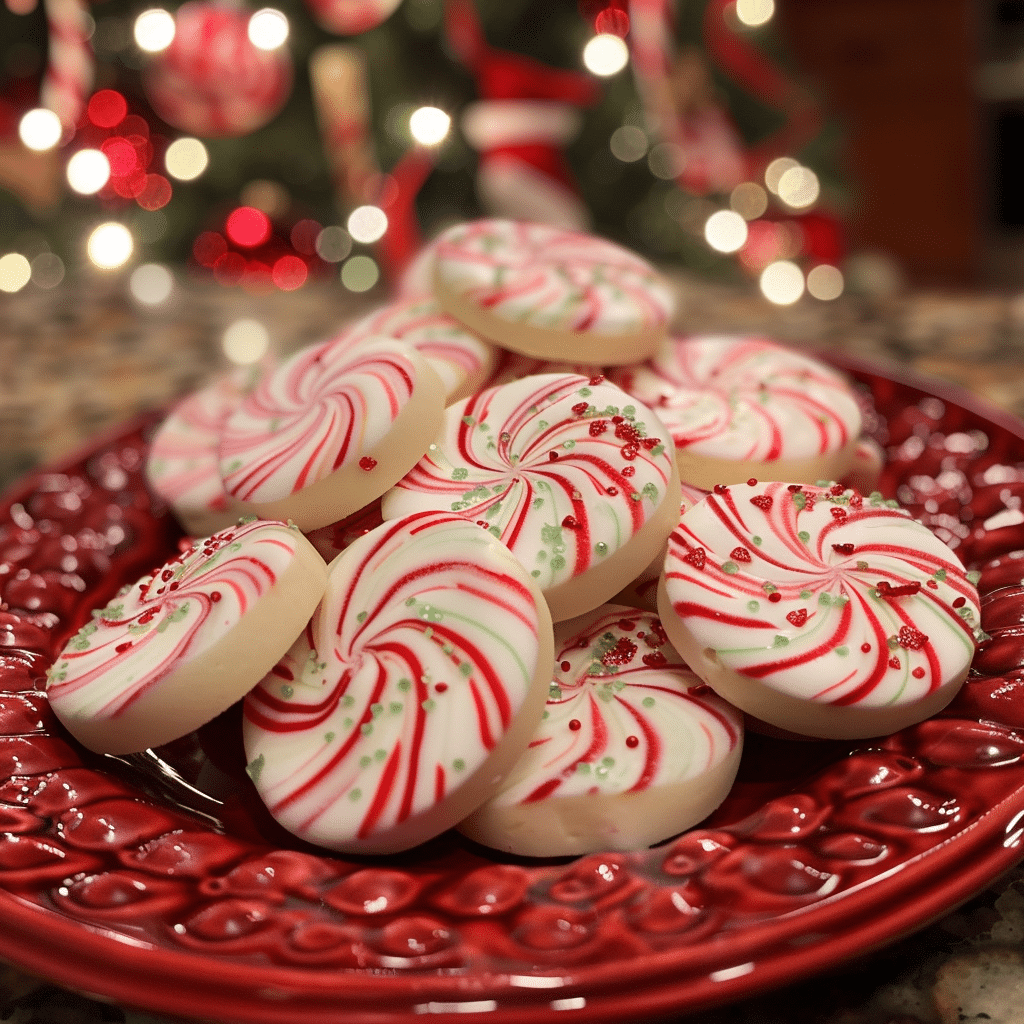
Soft Christmas Peppermints Recipe: Sweet, Minty, and Melt-in-Your-Mouth Festive Treats
- Total Time: 4 hrs 20 mins (including drying time)
- Yield: 60 mints
- Diet: Vegetarian
Description
These Soft Christmas Peppermints are melt-in-your-mouth, creamy, and delightfully festive candies. Flavored with refreshing peppermint and tinted in holiday colors, they’re perfect for gift giving, dessert platters, or as a sweet little treat after a meal.
Ingredients
- 3 1/2 cups powdered sugar (plus extra for dusting)
- 4 oz cream cheese, softened
- 1 tbsp unsalted butter, softened
- 1/2 tsp peppermint extract
- Food coloring (red and green for Christmas, optional)
- Granulated sugar (for coating, optional)
Instructions
- In a large mixing bowl, beat the softened cream cheese and butter together until smooth and creamy.
- Add the peppermint extract and mix well.
- Gradually add powdered sugar, 1 cup at a time, beating after each addition until a soft dough forms. The mixture should be thick but pliable.
- Divide the dough into 2–3 portions if you want to color them. Add a few drops of food coloring to each portion and knead until evenly blended.
- Dust your hands and work surface with powdered sugar. Roll small portions of the dough into 1-inch balls, then flatten slightly with a fork or the back of a spoon.
- Optional: Roll each peppermint in granulated sugar for a sparkly finish.
- Place the mints on a parchment-lined baking sheet and let them air dry at room temperature for at least 4 hours, or overnight, until firm but still soft in the center.
- Store in an airtight container at room temperature for up to 2 weeks or refrigerate for longer freshness.
Notes
- For extra flavor, mix half peppermint and half vanilla extract for a creamier taste.
- These candies also freeze well — just thaw before serving.
- Perfect for gifting in small jars or tins lined with parchment paper.
- Prep Time: 20 mins
- Cook Time: 0 mins
- Category: Candy
- Method: No-Bake
- Cuisine: American
Ingredients
(Tip: You can find the complete list of ingredients and their measurements in the recipe card below.)
Cream cheese — Creates the smooth, creamy base and melt-away texture.
Butter — Adds richness and helps the mints set properly.
Powdered sugar — Sweetens and thickens the mixture while keeping it soft.
Peppermint extract — Provides that classic, refreshing holiday flavor.
Vanilla extract (optional) — Adds warmth and rounds out the minty taste.
Food coloring (optional) — Red, green, or any festive color for a Christmas touch.
Granulated sugar (for rolling) — Prevents sticking and gives a pretty, sparkly finish.
Directions
In a large bowl, beat together the softened cream cheese and butter until smooth and creamy. Add peppermint extract (and vanilla if using) and mix well.
Gradually add powdered sugar, one cup at a time, mixing until a soft, pliable dough forms. The dough should be smooth and not sticky. If it’s too soft, add a bit more powdered sugar.
Divide the dough into portions and tint each with desired food coloring (red, green, or white). Knead gently until color is evenly distributed.
Roll the dough into small balls, about ¾ inch in diameter, and place them on a parchment-lined baking sheet. Flatten each ball lightly with a fork or the back of a spoon to create the traditional peppermint shape.
Let the mints air-dry at room temperature for 12–24 hours, or until firm on the outside but still soft and creamy inside. Store in an airtight container between layers of wax paper.
Essential Equipment
Must-Have Tools to Get Rolling
Here’s what you’ll want to have on hand:
- Large pot – You’ll need this to boil the whole cabbage head and soften the leaves.
- large bowl –Spacious, durable large bowl ideal for mixing, serving, or food preparation. Made from sturdy material and easy to clean.
- Sharp knife – For coring the cabbage and slicing out the thick stem in each leaf. A paring knife works best.
- Mixing bowl – A big bowl makes it easier to combine your meat and rice filling evenly.
- Cutting board – For prepping cabbage leaves and rolling them like a pro.
- 9×13-inch baking dish – Ideal size to fit your rolled cabbage leaves snugly and prevent them from unraveling.
- knife – A sharp, durable kitchen knife perfect for slicing, chopping, and dicing with ease.
- Silicone Spatula – Durable, heat-resistant silicone spatula perfect for mixing, scraping, and spreading. Gentle on non-stick cookware and easy to clean.
Servings and timing
This recipe makes about 80 small mints. Preparation takes 20 minutes, and drying time 12–24 hours. Total time: about 1 day (hands-on time only 20 minutes).
Storage/reheating
Store mints in an airtight container at room temperature for up to 2 weeks, or refrigerate for up to 1 month. For longer storage, freeze for up to 3 months — thaw at room temperature before serving. Avoid humidity to keep the mints from getting sticky.
Variations and Customizations
Candy Cane Swirl — Mix red and white doughs together for a marbled look.
Chocolate-Dipped Peppermints — Dip half of each mint in melted dark or white chocolate.
Coconut Cream — Add ½ teaspoon coconut extract for a tropical twist.
Spearmint Version — Use spearmint extract instead of peppermint for a milder flavor.
Glitter Mints — Dust with edible glitter for sparkle at holiday parties.
Butter Mints — Add a touch more butter and reduce peppermint for a creamy butter flavor.
Vegan Option — Use dairy-free cream cheese and plant-based butter.
Striped Peppermints — Layer colored doughs and cut into squares for a fun look.
Candy Cane Crunch — Press crushed candy canes on top before drying for texture.
Almond-Mint Combo — Add a dash of almond extract for a nutty sweetness.
FAQs
How long do soft peppermints take to set?
They need 12–24 hours to dry slightly on the outside while staying soft inside.
Can I make these without cream cheese?
Cream cheese is key for texture, but you can use a bit of condensed milk for a firmer result.
How strong is the peppermint flavor?
You can adjust the extract to taste — start with less, then add more as needed.
Can I make these ahead of time?
Yes! They keep well and even improve in texture after a day or two.
How do I keep them from drying out too much?
Store them in an airtight container once the outer shell has set.
Can I use gel food coloring?
Yes, gel works best for vibrant color without altering texture.
Do I need to refrigerate them?
Only if your kitchen is very warm; otherwise, room temperature is fine.
Can I use mint extract instead of peppermint?
Yes, but the flavor will be softer and less sharp.
What can I do if my dough is sticky?
Add more powdered sugar until it’s smooth and workable.
Can I pipe the mints instead of shaping by hand?
Yes, use a piping bag for decorative swirls — just chill the dough slightly first.
Conclusion
Soft Christmas peppermints are a nostalgic holiday treat that’s as beautiful as it is delicious. With their smooth, melt-in-your-mouth texture and refreshing peppermint flavor, they bring a touch of old-fashioned charm to any holiday table. Easy to make, fun to color, and perfect for gifting, these mints are a festive staple you’ll find yourself making year after year. Whether nestled in a candy dish or wrapped as a sweet homemade present, they’re the perfect little bites of Christmas joy.
Looking for more tasty recipes? Visit our website for full details and follow us on Pinterest for daily food ideas to save and share