Why You’ll Love This Recipe
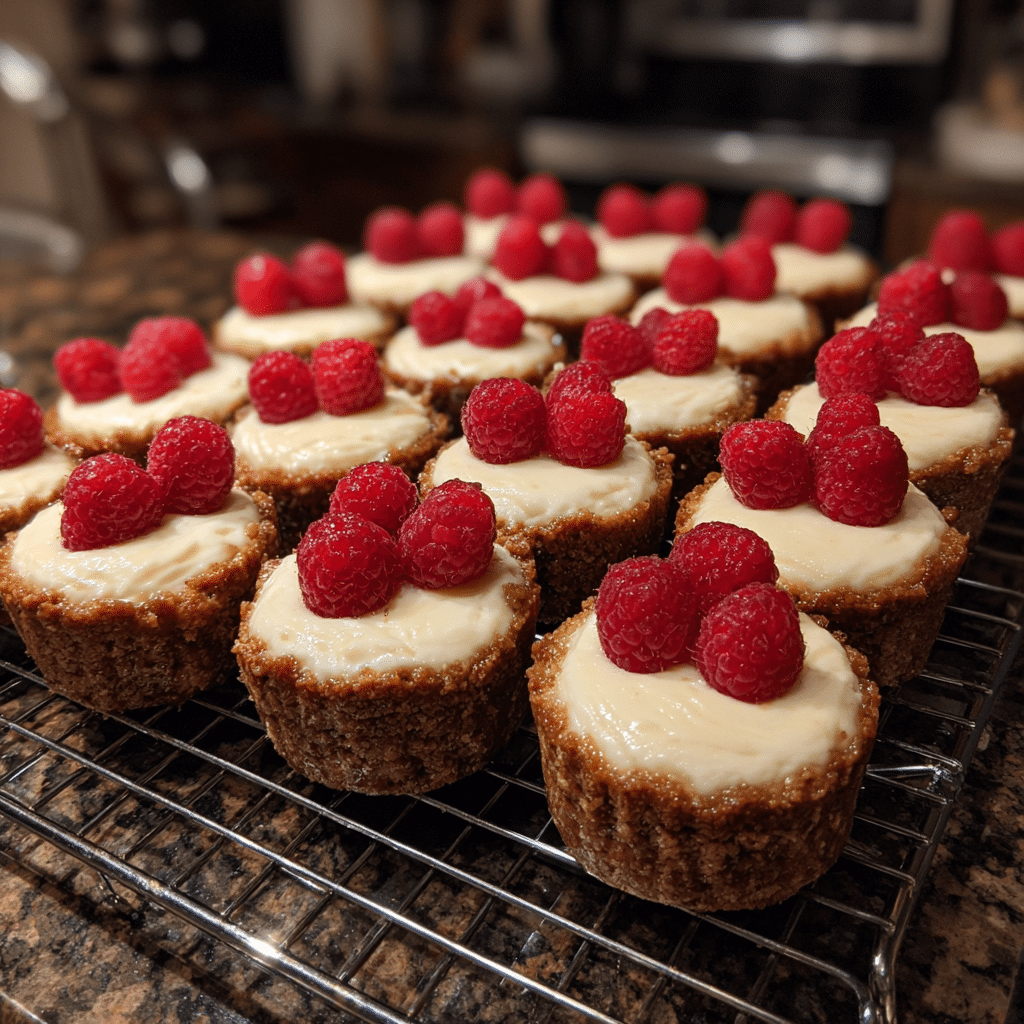
Mini Cheesecake Tarts are the perfect combination of creamy indulgence and elegant presentation. These individual-sized treats deliver everything you love about classic cheesecake but in a compact, easy-to-serve form. With a crisp crust and a smooth, rich filling, they are ideal for parties, holidays, or anytime you want a dessert that feels special without being overwhelming.
What makes these tarts especially appealing is their versatility. They bake quickly, cool faster than a full cheesecake, and are simple to customize with different toppings. When I first made these, I appreciated how neatly they portioned and how polished they looked with minimal effort. They feel bakery-quality yet are very approachable for home bakers. Whether topped with fruit, chocolate, or served plain, Mini Cheesecake Tarts are consistently impressive and always well received.
Print
Mini Cheesecake Tarts: Elegant Bite-Sized Desserts for Any Occasion
- Total Time: 2 hours 33 minutes
- Yield: 12 mini tarts
- Diet: Vegetarian
Description
Mini Cheesecake Tarts are bite-sized desserts with a buttery crust and creamy cheesecake filling, perfect for parties, holidays, or portion-controlled treats.
Ingredients
- 1 cup graham cracker crumbs
- 3 tablespoons unsalted butter, melted
- 2 tablespoons granulated sugar
- 8 oz cream cheese, softened
- 1/3 cup granulated sugar
- 1 large egg
- 1 teaspoon vanilla extract
- 1/4 cup sour cream
- Fruit topping or pie filling (optional)
Instructions
- Preheat oven to 175°C (350°F) and grease a mini muffin pan.
- Mix graham cracker crumbs, melted butter, and sugar until combined.
- Press about 1 tablespoon of the crumb mixture into each muffin cavity.
- Bake crusts for 5 minutes, then let cool slightly.
- In a bowl, beat cream cheese until smooth.
- Add sugar and mix until combined.
- Add egg and vanilla extract, mixing on low speed.
- Stir in sour cream until smooth.
- Spoon cheesecake filling over the crusts, filling nearly to the top.
- Bake for 15–18 minutes until set.
- Cool completely, then refrigerate for at least 2 hours.
- Top with fruit topping if desired before serving.
Notes
- Do not overbake to avoid cracks.
- Chill well for best texture.
- Can be made a day ahead.
- Prep Time: 15 minutes
- Cook Time: 18 minutes
- Category: Dessert
- Method: Baking
- Cuisine: American
Ingredients
(Tip: You can find the complete list of ingredients and their measurements in the recipe card below.)
Graham cracker crumbs
Graham cracker crumbs create a lightly sweet, crunchy base that contrasts beautifully with the creamy filling.
Butter
Butter binds the crust together and adds richness.
Cream cheese
Cream cheese forms the smooth, tangy base of the cheesecake filling.
Granulated sugar
Sugar sweetens the filling and balances the tang of the cream cheese.
Eggs
Eggs provide structure and help the filling set while remaining creamy.
Vanilla extract
Vanilla adds warmth and depth to the cheesecake flavor.
Sour cream or heavy cream
This adds smoothness and a slightly lighter texture to the filling.
Salt
Salt enhances flavor and balances sweetness.
Directions
Preheat the oven to 175°C (350°F) and line a muffin tin with paper liners.
In a bowl, combine the graham cracker crumbs and melted butter until evenly moistened. Spoon the mixture into the liners and press firmly to form the crust. Bake for 5 to 7 minutes, then allow to cool slightly.
In a mixing bowl, beat the cream cheese until smooth. Add the sugar and mix until well combined. Beat in the eggs one at a time, followed by vanilla extract, sour cream or heavy cream, and salt.
Spoon the cheesecake mixture over the cooled crusts, filling each liner almost to the top. Bake for 15 to 18 minutes, or until the centers are just set.
Remove from the oven and allow the tarts to cool completely, then refrigerate for at least 2 hours before serving.
Equipment needed
Must-Have Tools to Get Rolling
Here’s what you’ll want to have on hand:
Silicone Spatula – Durable, heat-resistant silicone spatula perfect for mixing, scraping, and spreading. Gentle on non-stick cookware and easy to clean.
Large pot – You’ll need this to boil the whole cabbage head and soften the leaves.
large bowl –Spacious, durable large bowl ideal for mixing, serving, or food preparation. Made from sturdy material and easy to clean.
Sharp knife – For coring the cabbage and slicing out the thick stem in each leaf. A paring knife works best.
Mixing bowl – A big bowl makes it easier to combine your meat and rice filling evenly.
Cutting board – For prepping cabbage leaves and rolling them like a pro.
Full-Size Blender – is a powerful kitchen appliance for making smoothies, soups, and sauces in large batches.
3-in-1 Air Fryer – This versatile 3-in-1 air fryer offers Air Fry for healthier meals with less oil, Bake for bakery-quality desserts and treats, and Reheat to bring leftovers back to life with crispy, flavorful results
Servings and timing
This recipe makes 12 mini cheesecake tarts. Preparation takes approximately 15 minutes, baking time is about 20 minutes, and chilling time is at least 2 hours.
Storage/reheating
Store the tarts in an airtight container in the refrigerator for up to four days. Serve chilled. Reheating is not recommended.

Variations and Customizations
Mini Cheesecake Tarts are incredibly flexible. For a chocolate version, add melted chocolate or cocoa powder to the filling. I have tested this with dark chocolate, and it creates a rich, decadent result.
You can also top the tarts with fruit compote, fresh berries, caramel sauce, or chocolate ganache. For a citrus twist, add lemon zest to the filling. If you prefer a different crust, vanilla wafer or chocolate cookie crumbs work very well.
These tarts can also be made gluten-free by using gluten-free cookie crumbs. Each customization allows you to tailor the dessert while keeping its creamy, elegant character intact.
Nutrition and Dietary Info
These tarts are rich and indulgent, containing dairy, eggs, and gluten. They are best enjoyed in moderation as a dessert or special treat.
Expert Tips & Customizations
Smooth Filling
Ensure cream cheese is fully softened before mixing.
Do Not Overbake
Centers should be just set to avoid cracks.
Clean Edges
Use liners for easy removal and neat presentation.
Even Portions
Use a scoop for consistent size.
Perfect Texture
Chill fully before serving for best flavor and firmness.
FAQs
Can I make these ahead of time?
Yes, they are ideal for make-ahead preparation.
Why did my cheesecakes crack?
Overbaking or rapid cooling can cause cracks.
Can I freeze mini cheesecake tarts?
Yes, freeze without toppings for up to two months.
Do I need a water bath?
No, mini cheesecakes bake evenly without one.
Can I use low-fat cream cheese?
Yes, though texture may be slightly softer.
What toppings work best?
Fruit, chocolate, caramel, or whipped cream all work well.
Can I make them without liners?
Yes, but grease the pan very well.
Are these kid-friendly?
Yes, they are mild, creamy, and easy to eat.
Can I make them dairy-free?
Dairy-free substitutes can be used with texture changes.
How do I know they are done?
The centers should be just set with no jiggle.
Conclusion
Mini Cheesecake Tarts are a refined, crowd-pleasing dessert that delivers classic cheesecake flavor in an elegant, bite-sized form. Easy to prepare, endlessly customizable, and visually impressive, they are a dependable recipe for celebrations, gatherings, or anytime you want a dessert that feels special without extra effort.
Looking for more tasty recipes? Visit our website for full details and follow us on Pinterest for daily food ideas to save and share