Why You’ll Love This Recipe
Classic Christmas toffee is a holiday treat that never goes out of style — buttery, crunchy, and coated in a luscious layer of chocolate with a sprinkle of nuts. It’s the perfect blend of sweet and salty, with that satisfying snap that makes it impossible to eat just one piece. I remember making this for my holiday gift baskets last year, and it was the first thing everyone requested again! The beauty of this recipe lies in its simplicity — just a few ingredients come together to create a candy-shop-worthy treat. Whether you’re gifting it, sharing it at a party, or keeping it all to yourself, this toffee will bring warmth, nostalgia, and a touch of sparkle to your Christmas season.

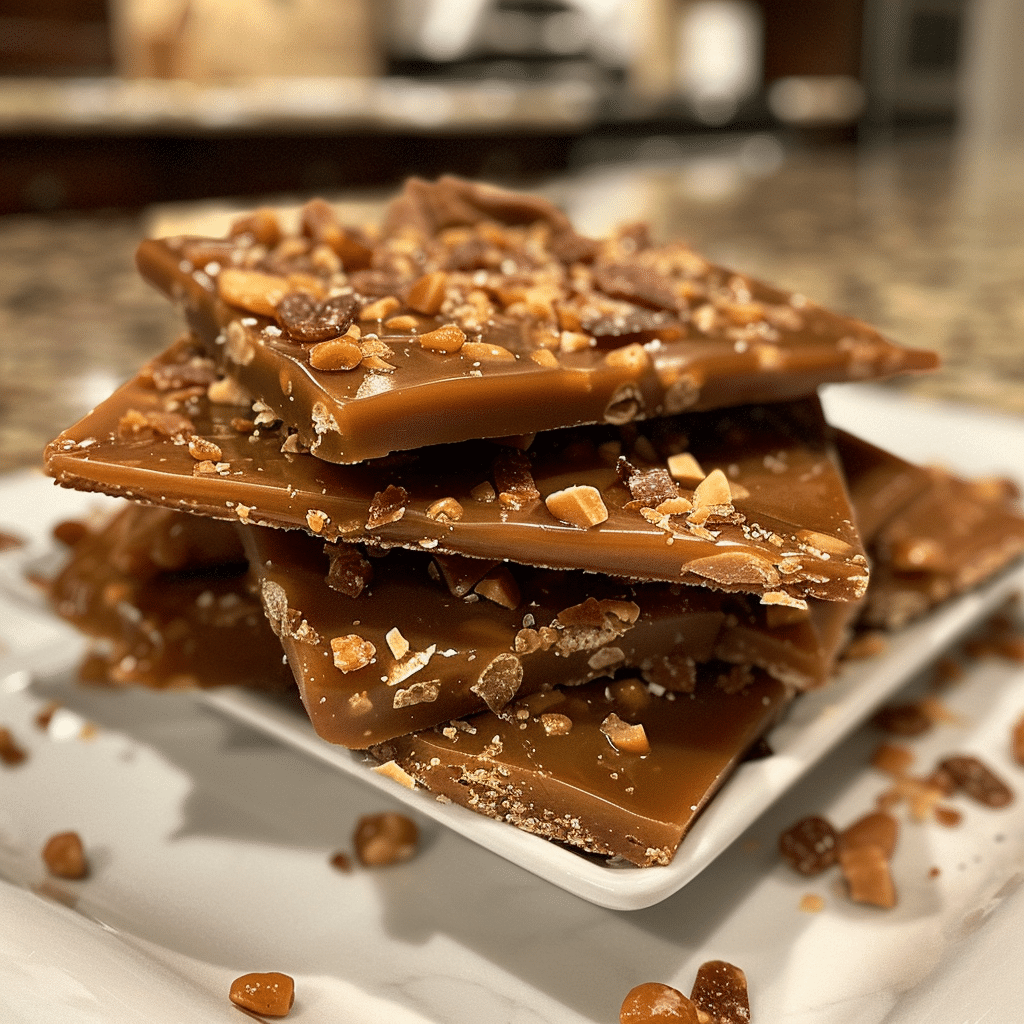
Classic Christmas Toffee: Sweet, Crunchy, and Irresistibly Festive
- Total Time: 25 mins
- Yield: 20 pieces
- Diet: Vegetarian
Description
This Classic Christmas Toffee is a festive, buttery candy layered with rich caramelized toffee and topped with melted chocolate and crunchy nuts. It’s simple to make, irresistibly delicious, and perfect for holiday gifting or dessert platters.
Ingredients
- 1 cup (2 sticks) unsalted butter
- 1 cup granulated sugar
- 1/4 tsp salt
- 1 tsp vanilla extract
- 1 cup semi-sweet chocolate chips
- 1/2 cup chopped pecans or almonds (optional)
- 1 tbsp water
Instructions
- Line a baking sheet with parchment paper or a silicone mat and set aside.
- In a heavy-bottomed saucepan, melt butter, sugar, salt, and water over medium heat, stirring constantly with a wooden spoon or heatproof spatula.
- Continue cooking until the mixture reaches 300°F (150°C) on a candy thermometer (hard crack stage), about 10–12 minutes. The mixture should be golden brown.
- Remove from heat and stir in vanilla extract.
- Quickly pour the hot toffee onto the prepared baking sheet and spread evenly with a spatula.
- Sprinkle chocolate chips immediately over the hot toffee. Let sit for 1–2 minutes, then spread the melted chocolate evenly over the surface.
- Top with chopped nuts, pressing them lightly into the chocolate.
- Allow the toffee to cool completely at room temperature or refrigerate for faster setting.
- Once firm, break into pieces and store in an airtight container.
Notes
- Use a candy thermometer for perfect results — overheating can cause the toffee to taste burnt.
- Store at room temperature for up to 2 weeks or freeze for up to 3 months.
- Try topping with crushed candy canes for a festive twist.
- Prep Time: 10 mins
- Cook Time: 15 mins
- Category: Dessert
- Method: Stovetop
- Cuisine: American
Ingredients
(Tip: You can find the complete list of ingredients and their measurements in the recipe card below.)
Unsalted butter — The key to rich flavor and perfect texture.
Granulated sugar — Melts into golden caramel that forms the crisp toffee base.
Light brown sugar — Adds a hint of molasses depth to the sweetness.
Light corn syrup — Prevents crystallization, ensuring smooth, glossy toffee.
Water — Helps dissolve the sugars evenly for a perfect caramel texture.
Salt — Balances the sweetness and enhances flavor.
Vanilla extract — Adds warmth and depth to the finished candy.
Semi-sweet chocolate chips — Melt into a silky layer that complements the crunchy toffee.
Chopped nuts (almonds, pecans, or walnuts) — For texture, crunch, and that signature toffee finish.
Directions
Line a baking sheet with parchment paper or a silicone baking mat. In a heavy-bottomed saucepan, combine butter, granulated sugar, brown sugar, corn syrup, water, and salt. Cook over medium heat, stirring constantly, until the mixture comes to a boil.
Once boiling, reduce heat slightly and cook without stirring until the mixture reaches 300°F (150°C) on a candy thermometer (the hard crack stage). This takes about 10–15 minutes. Watch closely to prevent burning.
Remove from heat and quickly stir in vanilla extract. Pour the hot toffee onto the prepared baking sheet and spread it evenly with a heatproof spatula. Let sit for about 2 minutes, then sprinkle the chocolate chips evenly over the top. Allow them to melt for a few minutes, then spread into a smooth layer.
Immediately sprinkle chopped nuts on top, pressing gently so they stick. Let cool completely at room temperature or refrigerate for faster setting. Once firm, break into pieces and store in an airtight container.
Essential Equipment
Must-Have Tools to Get Rolling
Here’s what you’ll want to have on hand:
- Large pot – You’ll need this to boil the whole cabbage head and soften the leaves.
- large bowl –Spacious, durable large bowl ideal for mixing, serving, or food preparation. Made from sturdy material and easy to clean.
- Sharp knife – For coring the cabbage and slicing out the thick stem in each leaf. A paring knife works best.
- Mixing bowl – A big bowl makes it easier to combine your meat and rice filling evenly.
- Cutting board – For prepping cabbage leaves and rolling them like a pro.
- 9×13-inch baking dish – Ideal size to fit your rolled cabbage leaves snugly and prevent them from unraveling.
- knife – A sharp, durable kitchen knife perfect for slicing, chopping, and dicing with ease.
- Silicone Spatula – Durable, heat-resistant silicone spatula perfect for mixing, scraping, and spreading. Gentle on non-stick cookware and easy to clean.
Servings and timing
This recipe yields about 24 pieces. Preparation takes 10 minutes, cooking 15 minutes, and cooling 1 hour. Total time: approximately 1 hour 25 minutes.
Storage/reheating
Store toffee in an airtight container at room temperature for up to 2 weeks, or refrigerate for longer freshness. Separate layers with parchment paper to prevent sticking. For gifting, wrap in cellophane bags or tins — it keeps beautifully and travels well.
Variations and Customizations
Dark Chocolate Toffee — Use dark chocolate instead of semi-sweet for a bolder flavor.
White Chocolate Swirl — Drizzle melted white chocolate over the top before it sets.
Sea Salt Toffee — Sprinkle flaky sea salt on the chocolate layer for sweet-salty contrast.
Espresso Toffee — Add ½ teaspoon espresso powder to the toffee mixture for a coffee twist.
Coconut Crunch — Sprinkle toasted coconut flakes on top of the chocolate before it sets.
Nut-Free — Skip the nuts and top with festive sprinkles or crushed candy canes.
Almond Roca Style — Use finely chopped almonds and roll edges for a traditional candy look.
Peppermint Bark Toffee — Add crushed peppermint candy to the chocolate for a Christmas flair.
Vegan Version — Use vegan butter and dairy-free chocolate.
Gift-Ready — Pour into small molds for individual toffee bites.
FAQs
How do I know when the toffee is done cooking?
Use a candy thermometer — it’s ready when it reaches 300°F (hard crack stage).
Can I make toffee without a thermometer?
Yes, drop a bit into cold water — it should harden instantly and snap when broken.
Why did my toffee separate?
It may have been stirred after boiling or the heat was too high. Cook gently and steadily.
Can I use salted butter?
Yes, but reduce added salt slightly to balance flavor.
How do I keep the chocolate from separating?
Spread it once melted but not overheated, and let it cool naturally.
Can I use white or milk chocolate?
Yes, but semi-sweet gives the best balance against the sweetness of the toffee.
Can I make this ahead for gifts?
Definitely — it stays crisp for weeks when stored properly.
What nuts are best for toffee?
Almonds are traditional, but pecans, walnuts, or hazelnuts also work beautifully.
Why is my toffee grainy?
Crystallization occurred — avoid stirring once it begins boiling and add a bit of corn syrup.
How should I break it into pieces?
Once set, simply tap it gently with a knife handle or break by hand.
Conclusion
Classic Christmas toffee is the epitome of festive indulgence — buttery, crisp, and coated in rich chocolate with a sprinkle of nuts. It’s a timeless treat that captures the warmth and joy of the holidays in every crunchy bite. Whether you’re filling a candy tin, giving edible gifts, or treating your family, this recipe is guaranteed to impress. Simple yet elegant, this toffee embodies the spirit of homemade holiday magic — sweet, golden, and irresistibly nostalgic.
Looking for more tasty recipes? Visit our website for full details and follow us on Pinterest for daily food ideas to save and share